Dreaming of luscious, bouncy curls or soft, romantic waves like a magazine model? Your curling iron is the secret weapon in your styling arsenal! Whether you’re a complete novice or looking to refine your technique, this comprehensive guide will teach you how to use a curling iron step-by-step. Unlock perfectly styled curls with ease and say goodbye to frizz and flat hair.
Master curling techniques to transform your look effortlessly.
A.Foundational Prep for Perfect Curls
Crucial preparation before you plug in your ironleads to longer-lasting curls and healthier hair:
Clean & Completely Dry Hair: Always start with freshly washed, fully dried hair. Applying heat to damp hair causes severe protein damage, breakage, and can even lead to bubbling or burning.
Heat Protectant is Non-Negotiable: This is haircare’s golden rule! Before styling, generously apply a leave-in conditioner or heat protectant spray/cream. This creates a barrier shielding your hair from thermal damage.
Thorough Detangling: Use a wide-tooth comb or professional styling brush to carefully remove every knot. Smooth strands are essential for creating even, springy curls.
Master Sectioning: Divide your hair into top, middle, and bottom layers (add more for thick hair), securing sections with clips. This ensures even heating and prevents missed or over-processed spots.
B.Core Curling Iron Operation: Step-by-Step
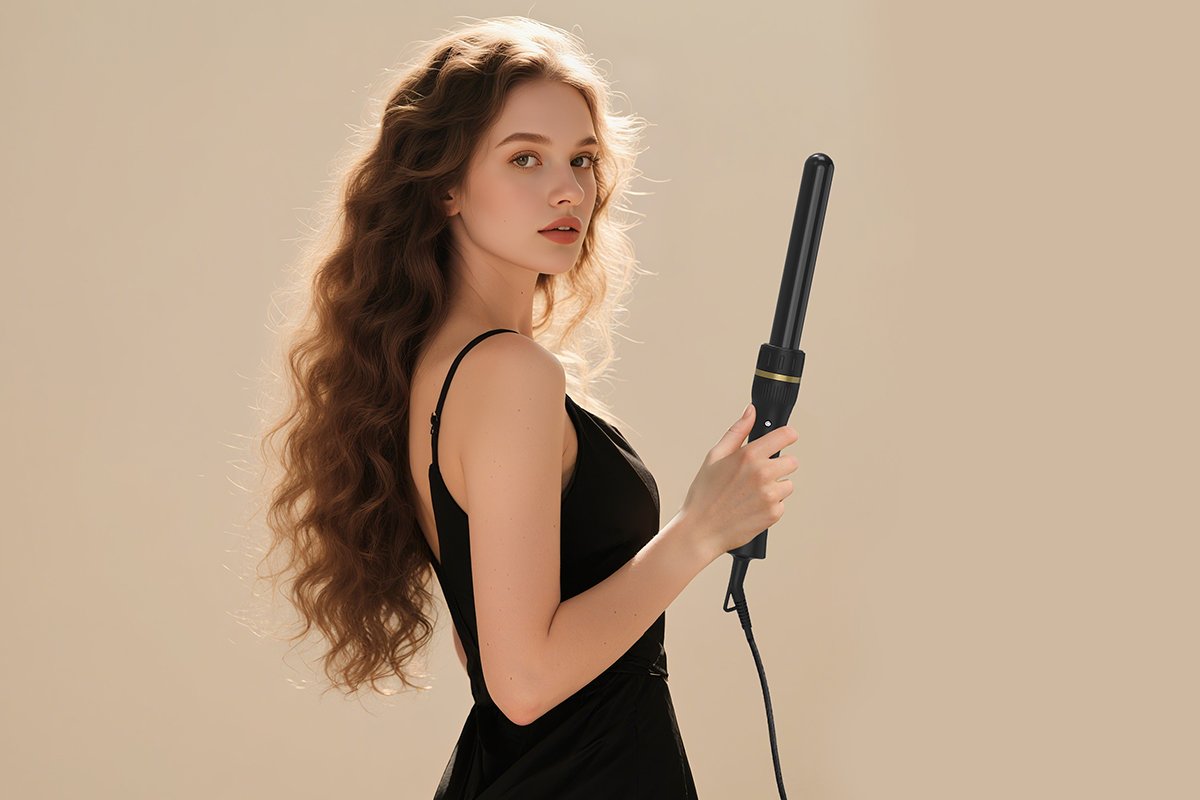
1. Choose Your Perfect "Curl Creator"
Barrel Size Dictates Style:
Small Barrel (0.5 – 1 inch): Creates tight, bouncy ringlets, corkscrew curls, or afro textures.
Medium Barrel (1 – 1.5 inches): Ideal for classic natural waves and voluminous curls.
Large Barrel (1.5 inches+): Perfect for lived-in beach waves, soft romantic curls, or dramatic S-bends.
Match the Iron Type to Your Needs:
Traditional Clamp Wand: Best for precise control, achieving defined curls, or creating spiral curls. The clamp secures ends for stability.
Wand / Clipless Iron: Excels at effortless, tousled waves with voluminous roots. Requires manual wrapping but offers flexibility.
Automatic Curler: Super beginner-friendly and time-saving. Insert a hair section; it wraps and heats automatically.
2.Set the Right Temperature (Crucial for Hair Health!)
Fine/Delicate Hair: Safer at lower temps – 150°C – 175°C (300°F – 350°F)
Medium/Normal Hair: Moderate heat works best – 175°C – 190°C (350°F – 375°F)
Thick/Coarse/Resistant Hair: Needs higher heat – 190°C – 205°C (375°F – 400°F)
3.Professional Styling Techniques Explained
【Using a Clamp Iron】
Take a small hair section (1-2 fingers wide max). Too much hair leads to uneven results.
Open the clamp, place the ends inside securely, and gently close it.
Slowly and smoothly wind the hair around the barrel from ends towards roots (closer to roots for bounce; midway for softer waves).
Hold for 5-10 seconds, carefully open the clamp, and let the hair slide off naturally (never pull!).
【Using a Clipless Wand】
Decide curling direction (holding horizontally or vertically).
Wrap the hair section around the barrel, maintaining steady (not tight) tension.
Hold for 5-15 seconds (adjust based on hair type and temperature).
Carefully unwind the hair and let the curl fall naturally.
4.The Cool-Down (Secret to Long-Lasting Curls!)
Do not touch the curl until completely cool! Handling hot curls destroys the shape.
Once cooled, use just your fingers to gently separate and tousle curls for a natural, full look. Skip the comb/brush to preserve definition.
5.Lock In Your Style
After curling, finish with a light-hold hairspray to set your look all day.
For instant volume boost: Flip your head upside down, tousle gently, and mist a bit more hairspray near the roots.
C.Stylist Pro Secrets: Elevate Your Curl Game
Direction Matters: Curling sections framing your face away from your face (outwards) creates a natural, flattering effect.
Alternate Directions for Volume: For incredible fullness, alternate curling directions (some sections inwards, others outwards).
Preserve Curls Overnight: Before bed, gather curls into a loose high bun/ponytail with a silk scrunchie. Sleep on a silk pillowcase to minimize friction and wake up to gorgeous second-day curls!
D.Beginner Pitfalls to Avoid
❌ Taking Chunky Sections: Result = patchy curls and uneven heat. Stick to small sections!
❌ Skipping Heat Protectant: Sending hair into thermal battle unprotected guarantees long-term damage. Never skip this step!
❌ Disturbing Hot Curls: Touching or combing before cooling ruins the shape. Let them cool completely.
❌ Using the Wrong Temp: Tailor the temperature specifically to your hair type for best results and safety.
E.Buying & Maintaining Your Curling Iron
Buying Tips: Choose ceramic or tourmaline barrels for gentler, even heat. An iron with adjustable temperature and interchangeable barrels offers maximum versatility.
Cleaning & Care: Once completely cool, wipe the barrel with a damp soft cloth to remove residue. Avoid immersion or harsh cleaners.
F.Frequently Asked Questions (FAQs)
Q: Can I use a curling iron daily?
A: Yes, but non-negotiable: Apply a high-quality heat protectant every single time and use the lowest effective temperature.
Q: Why do my curls fall out so fast?
A: Common causes: Hair wasn’t fully dry, heat protectant was skipped, curls weren’t cooled before handling, fine hair type, insufficient hold product, or high humidity.
Q: Does a curling iron damage hair? How can I reduce it?
A: Heat causes cumulative damage. Minimize it by: Religiously using heat protectant, choosing the right (not max) temp, avoiding repeated passes on one section, and doing regular deep conditioning.
Q: Can I curl damaged hair?
A: Proceed with extreme caution: Use an ionic/steam iron on its lowest setting, hold for the minimum time needed, and intensify reparative treatments (deep masks, oils) to protect it from further damage.
SO Mastering how to use a curling iron is totally achievable! Understand your hair, choose the right tool, prioritize protection, practice these steps, and soon you’ll create salon-worthy perfect curls at home – ready to shine confidently every day! Start your curling journey now!
Direction Matters: Curling sections framing your face away from your face (outwards) creates a natural, flattering effect.
Alternate Directions for Volume: For incredible fullness, alternate curling directions (some sections inwards, others outwards).
Preserve Curls Overnight: Before bed, gather curls into a loose high bun/ponytail with a silk scrunchie. Sleep on a silk pillowcase to minimize friction and wake up to gorgeous second-day curls!